Peek: the best way to make yourself understood in Linux.
It has happened to most of us, Linux users, that a friend or family member needs help online with a program or task in their computer, and sending them a dozen screenshots with countless annotations is time-consuming for us and intimidating or confusing for them. On the other hand, opening and setting up an advanced video recording application like OBS just to record a 25-second clip where we don't even need sound recording is a massive overkill and as time-consuming (if not more) than taking and annotating screenshots.
Enter Peek, an easy to use and simple short-clip screen recorder for Linux. It's intended for recording quick animated GIFs (or video files with no sound) of an area of your computer screen. It's amazing how easily I can explain something today when previously, before using Peek, I spent 15 minutes taking and annotating screenshots. Now I just send the short clip via Skype, Whatsapp or even email and they solve their problem.
How to install Peek.
You can find Peek in the official package repositories for the following Linux distributions: – Arch – Debian – Fedora – Gentoo – NixOS – OpenSUSE Tumbleweed – Parabola – Solus
If you are using Ubuntu or an Ubuntu-based distro, you can install it by typing in the Terminal:
sudo add-apt-repository ppa:peek-developers/stable
sudo apt update
sudo apt install peek
If you are using Fedora, you can type in the Terminal:
sudo dnf install peek
If you are using Arch or an Arch-based distro, you can type in the Terminal:
sudo pacman -S peek
Peek can also be installed through Flatpak; if you have Flatpak in your Linux distro, install Peek through the Terminal with the following command (you will need to install several dependencies in Flatpak, like ffmpeg, for Peek to function properly):
flatpak install flathub com.uploadedlobster.peek
How to use Peek.
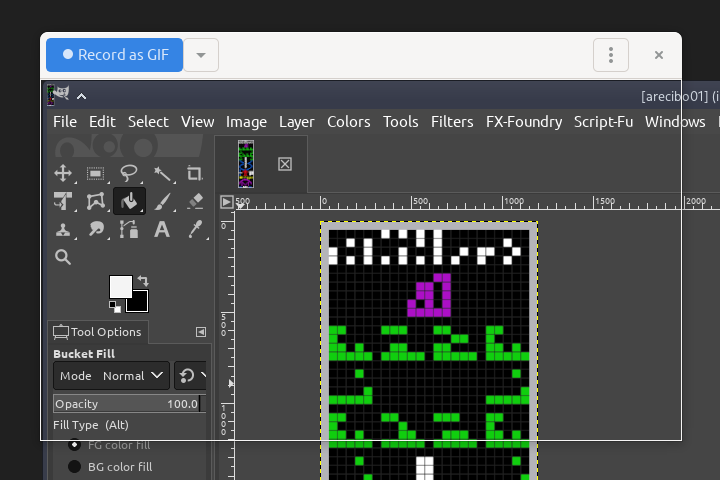
Using Peek is very straightforward: just open the application, define the size of the window to capture if you need to, and hit the “Record as GIF/MP4/etc...” button in the upper-left corner. When you finish, just press again the upper-left button to stop and save the recording.
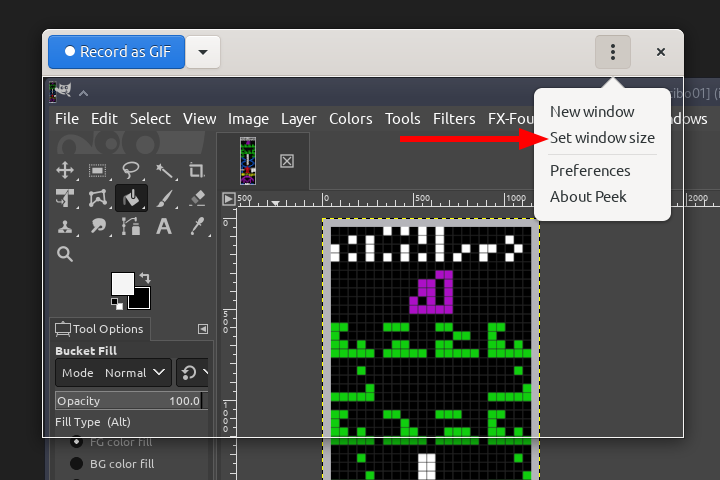
You can change the size of the capture area by either dragging the sides or corners of the window like you would normally do in any other windowed application, or by clicking on the button with the three vertical dots near the upper-right corner and selecting the “Set window size” option.
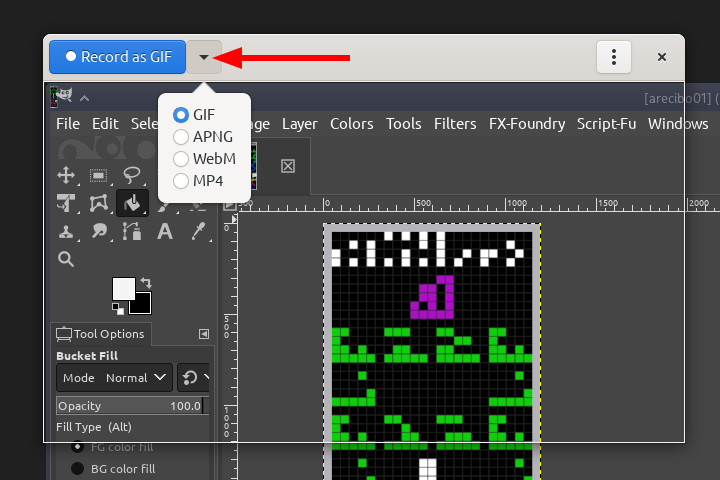
Peek lets you quickly choose between different recording formats in the main screen; this is very useful because one format can be better than others depending on the service you'll use to send the clip; for example, when I'm recording to post something in a web page (like in this article), I use GIF recording, but if I want to send the clip to Whatsapp, I record in MP4 format.
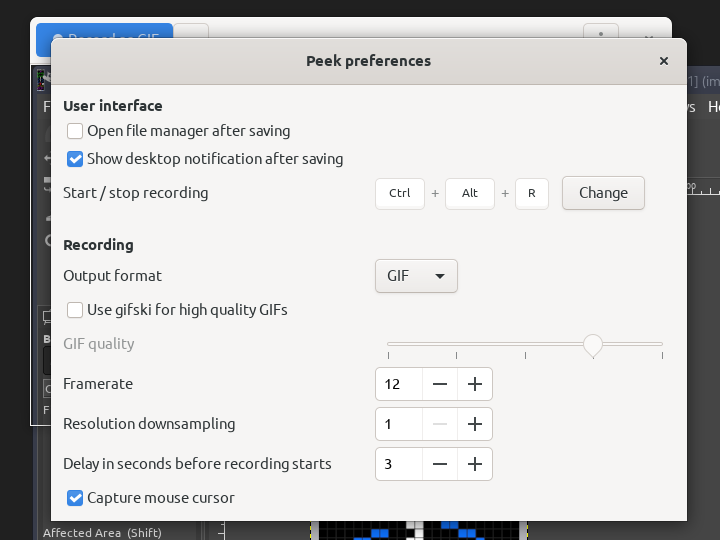
You might also want to take a look at the Preferences to change a few settings, like the framerate or the delay before the recording starts after you click on the “Record as...” button.
In the animated GIF below, you can see how easy it is to understand a procedure (changing the white color in the image to transparent) that, if using screenshots, it would have needed several images and annotations.
Things to consider.
Set the framerate between the default 10fps and 15fps if you are saving in GIF format, and no more than 25 or 30fps if you're using MP4/WebM formats. Remember, the purpose of Peek is to record quick video screen captures and keep the files as small and portable as possible. If you want to do more complex screen captures, use a more complex program, like SimpleScreenRecorder, vokoscreenNG or OBS.
If you choose GIF format for recording, the capture area should be smaller than 800 pixels in any axis, if the window size is 800px or larger, the GIF recording will be automatically resized to ½ the size. This limitation is not present when using MP4 or WebM formats.
Conclusion.
And there you have it! A quick and easy way of recording an area of your screen to share with friends, family or even yourself if you need to refresh your memory about some procedure you don't do often.
Finally, don't forget that Peek is a free and open source project, so feel free to visit their Github page if you have questions, bug reports or if you want to collaborate or donate to the project.
#peek #linux #foss #recording #clips
To download this blog post in PDF form, visit: this link
I maintain this blog in all these free and open source platforms:
https://fediverse.blog/@/LoremIpsum
https://paper.wf/loremipsum
[email protected]
All the content is published under the Creative Commons Attribution 4.0 license. Feel free to copy or share it, but please; give me, the author, proper credit for it.
If you like the content and want this blog to stay alive, consider contributing with a few bucks, cents or sats through any of the cryptocurrencies shown below. Read the very first post in the blog explaining why I'm doing this and why I need your help. Thank you in advance.
Bitcoin: bc1pjjtuzlaxwkhac6lvwadwntjt4pe30an7ulq5ze29yjj68uujt8rqmaspk4
PayNim: +steepband345
Litecoin: ltc1qpu8nm2a0emd4ve49nrjuzsxduazcsxjlmw4c8l
Monero: 8B6NkcqkN9ELbQozz6cMqtavftpKHgF8t5eNXQL9TRgsHu6mtckMnE14BFreu952mtWeSawsfqDG6FPtkniVTvTmDjMvy7T
Ethereum: 0xe5Bed11F014898aA8a45EA25b4E5a51d792495a6
Dash: XsNSyQeLc6y8f5v36AnjeuW8Ud9RtsjHoK
Oxen: LYQYnKrUngAjAnD9XdfgAFFT42s33u4zwN1c8t1BkmuFhdh3wKhBixpPzmPHSnNEQ57JZJ8iDbJYo7iG2pWTspMpE1UfXHP
Digibyte: DAzap9UsgnSW46rsYCjw7g9ekxifcgQEEF
Dogecoin: DMktAbKhQLwPZDfzFdXPoUKYAUgtws4zfr
Zcash: t1YuUcUpjYoHE5qBhrMp8LPr7hFAz1Z1Vae