LibreOffice 7 Writer 9
When making lists of information. Bullet points helps to make a list look more presentable:
There are two main types of list
- Numbered
- Each item is listed in order
- Numbers auto increment
- Bullet (itemized)
- Each item on its own line
- Useful for important points
- Can be mixed
- item 1
- item 2
- can be customized
The tool bar icon for bullet points


It is worth experimenting with the options:-
Indenting bullets
Lets say you have
- item 1
- item 2
- item 3
- item 4
- item 5
You want to indent item 2 so it is a sub-item of item 1
- item 1
- item 3
- item 4
- item 5
Put the cursor before the first item text (item 2, in this case) and press tab.
If you then decide you no longer want item 2 to be indented, put the cursor before the item and press shift+tab
And you will go back to your original list format again.
- item 1
- item 2
- item 3
- item 4
- item 5

This work is licensed under a Creative Commons Attribution-ShareAlike 4.0 International License.
LibreOffice 7 Writer 8
Adding Images
Adding images to documents, helps to illustrate what is being put across to the reader, breaks up text on a page and helps to make documents more interesting.
There are several ways to insert images
- Image Gallery
Insert Menu —> Media —> Gallery
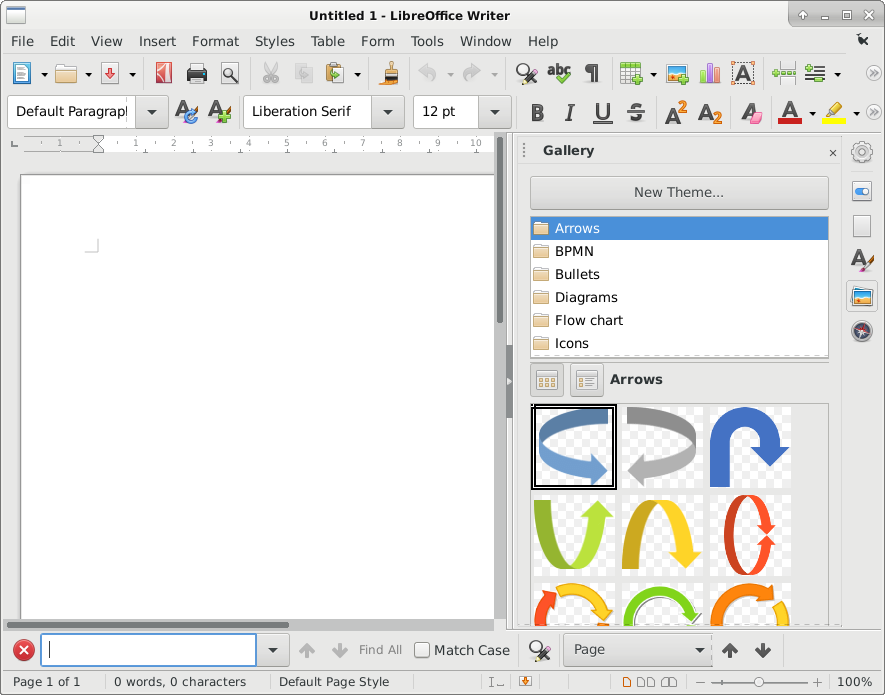
Find the image you would like, drag to your page, you can then resize to suit, with the grab handles.
- Insert Image (other source)
Insert menu —> Image
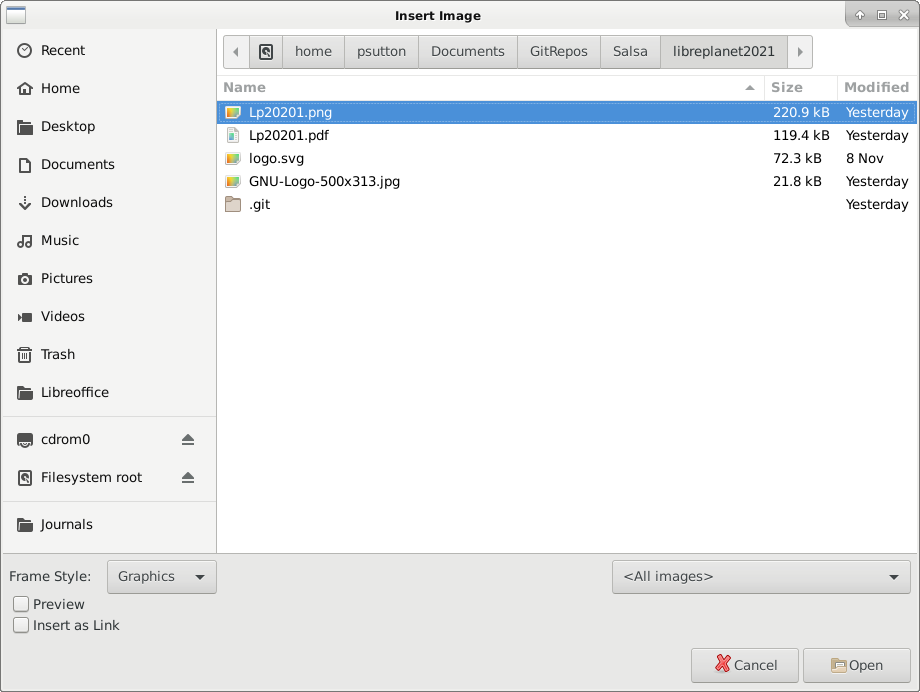
End result:-

This work is licensed under a Creative Commons Attribution-ShareAlike 4.0 International License.
LibreOffice 7 Writer 6
Justify text
By default text is aligned to the left hand side of the page. This can be changed with text justification.

The options on the tool bar from left
Align text to the left of the page
Align text to the centre (useful for titles etc)
Align text to the right
Justify – this gives a straight edge to the text on Both sides of the page.
This work is licensed under a Creative Commons Attribution-ShareAlike 4.0 International License.
Adding tables to Overleaf LaTeX document.
I am sharing this, in the hope that it helps to demonstrate my IT skills.
This shows:
- Creation of a table using tables generator
- Copying into a LaTeX document in Overleaf
- Making a few modifications
- Adding \listoftables to so that it is listed near the end of the document
#skills,#computing,#science,#LaTeX,#Overleaf,#tables
License information
This work is licensed under a Creative Commons Attribution-ShareAlike 4.0 International License.
LibreOffice 7 Writer 5
New files
Save and Open files
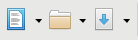
Shows, from left: New, Open & Save
Once you have created a document, you may want to save it for later.
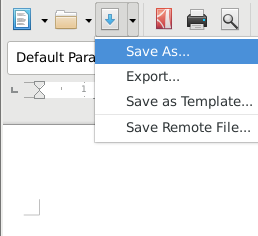
On the file menu click SaveAs or click toolbar icon.
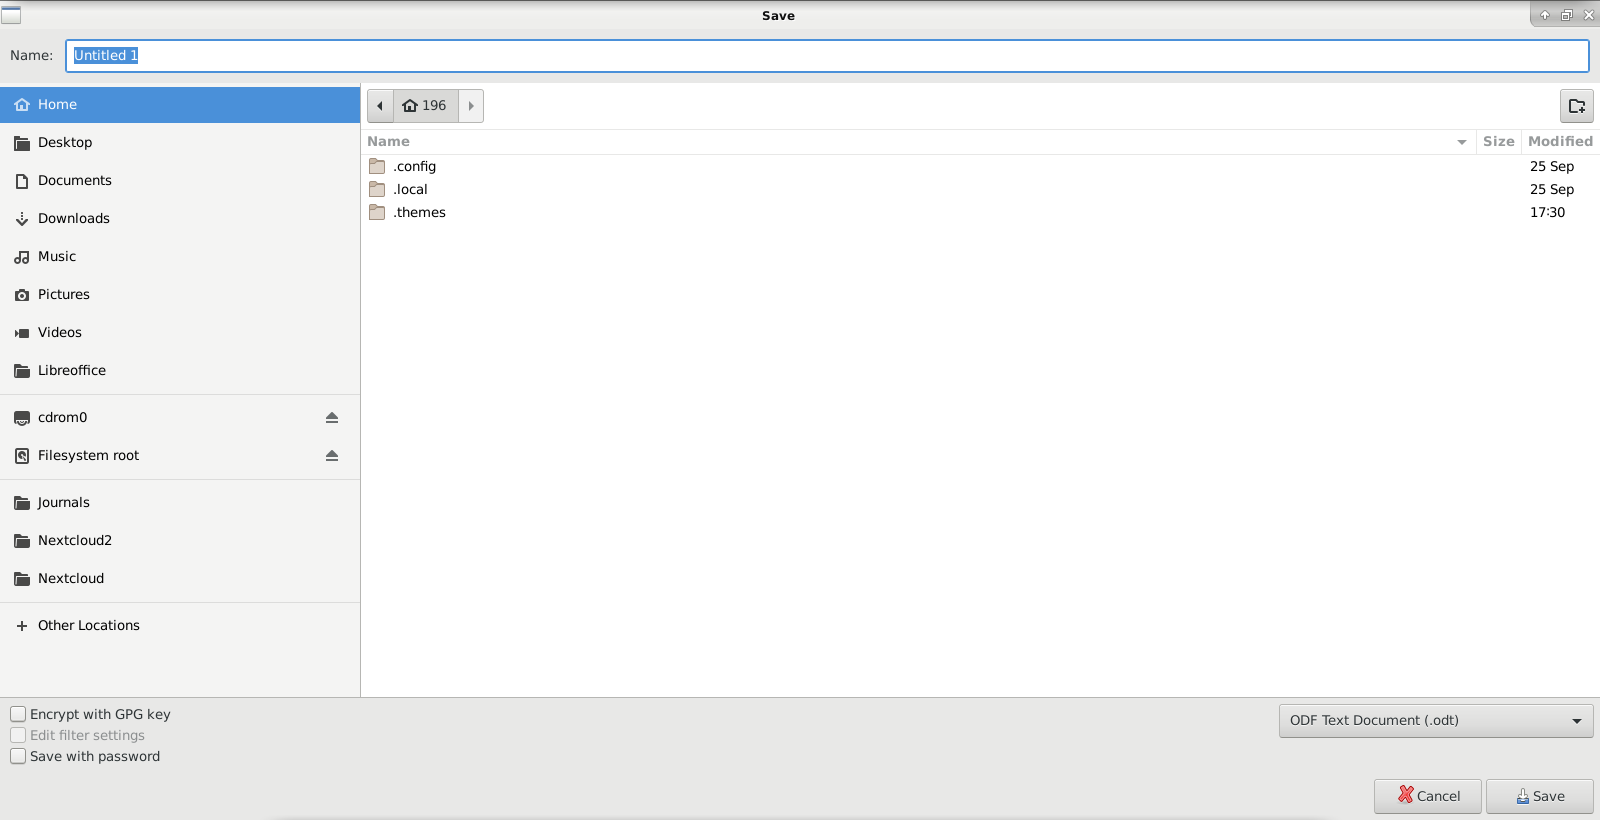
To Save a file:
Select Save As from menu bar or click on arrow next to Save to select SaveAs option.
- Navigate to folder where you want to store your file
- Select by double clicking on the folder to open that location
- Enter a filename in box at the top
- Press Save
You can then carry on editing and just press the save button when you want to save changes.
You should save on a regular basis to avoid any loss of data.
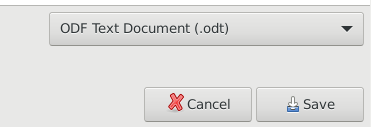
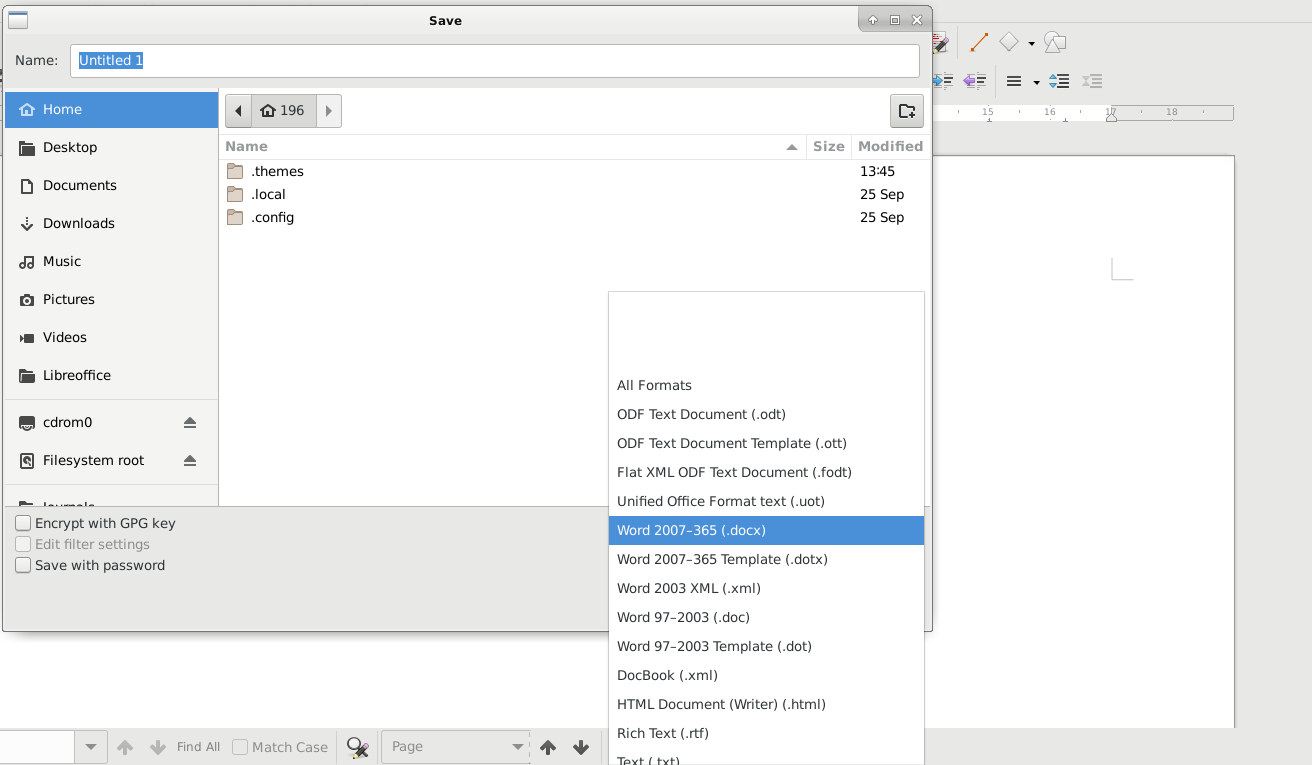
By default LibreOffice will save as Open Document Format. If you want to save so that users of MS Office can open your document you need to save as .docx. You can choose this from a list when you save.
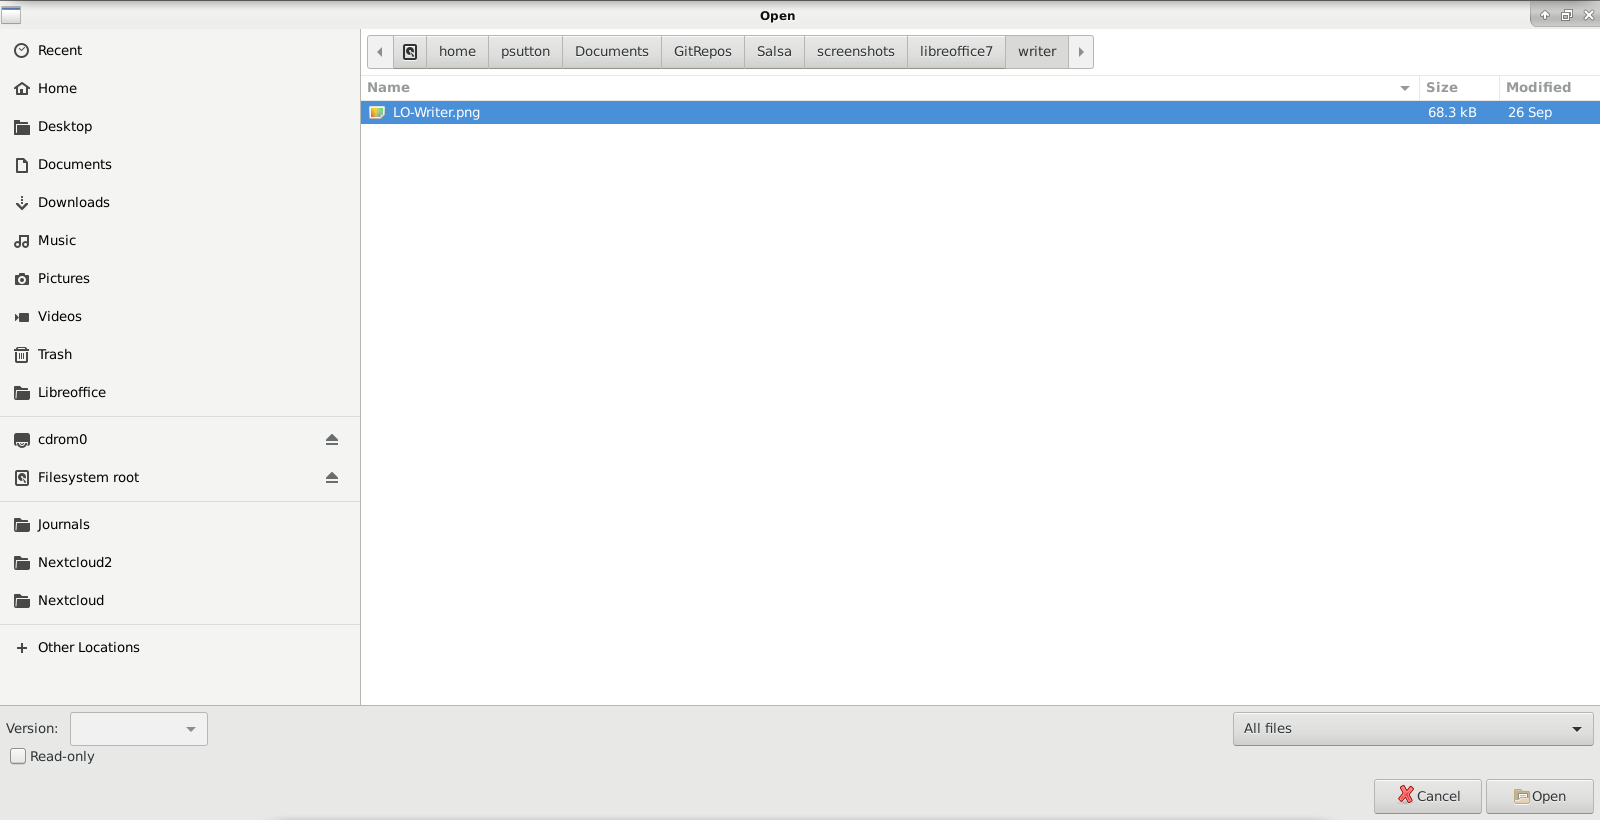
Opening a file
In a similar way, to retrieve your work you can Select File Open or click toolbar icon.
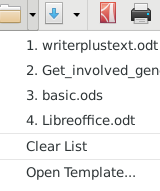
- Navigate where your file was stored
- Select by clicking once on the file (it will be highlighted blue)
- Press Open
Or click too bar icon.
This work is licensed under a Creative Commons Attribution-ShareAlike 4.0 International License.
LibreOffice 7 Writer 4
An important part of writing documents with a computer is that you can move text around. This saves retyping information.
Select ALL
You can highlight the text you want to move by Holding down CTRL (control key) and pressing A
To copy the text use CTRL – C
To paste the text use CTRL – V
To cut the text use CTRL – X
Or you can use the tool bar icons

Video below shows what happens with each, using the tool bar icons.
This work is licensed under a Creative Commons Attribution-ShareAlike 4.0 International License.
LibreOffice 7 Writer 2
Text, can also be a different:
Font

Size

This is changed in the same way. Highlight the text and select the option you would like from the drop down list.
This work is licensed under a Creative Commons Attribution-ShareAlike 4.0 International License.
Text Formatting
Once Libreoffice Writer has started you can enter some text.

I have added some lipsum text to illustrate the images. But once you have a paragraph or two of text, you may want to make your document look better.
One way to do this is to add headings.
Headings and titles stand out more if they are BOLD this can be achieved with:

The video below illustrates this operation
So we can also use any combination of the three. Here I have finished with a heading that is all three.
Added 21/11/2020
There is also strikethrough


This work is licensed under a Creative Commons Attribution-ShareAlike 4.0 International License.
LibreOffice 7 Writer 1
Getting started
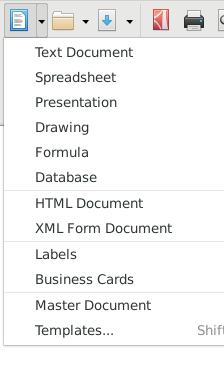
Once you have Opened the LibreOffice Application you will see the following.

From here, you can open up Writer

This work is licensed under a Creative Commons Attribution-ShareAlike 4.0 International License.
About

LibreOffice is a free and powerful office suite, and a successor to OpenOffice.org (commonly known as OpenOffice).
Its clean interface and feature-rich tools help you unleash your creativity and enhance your productivity.
This blog is designed to complement and NOT in any way replace the official documentation.
I am intending this to introduce a few basic topics, that are more aligned some of the BASIC IT skills curriculum offered by groups such as
Learn My Way.
Offers of employment welcome from UK based employers. Please see my main blog for contact and information. I can develop these resources further remotely.

This work is licensed under a Creative Commons Attribution-ShareAlike 4.0 International License.